

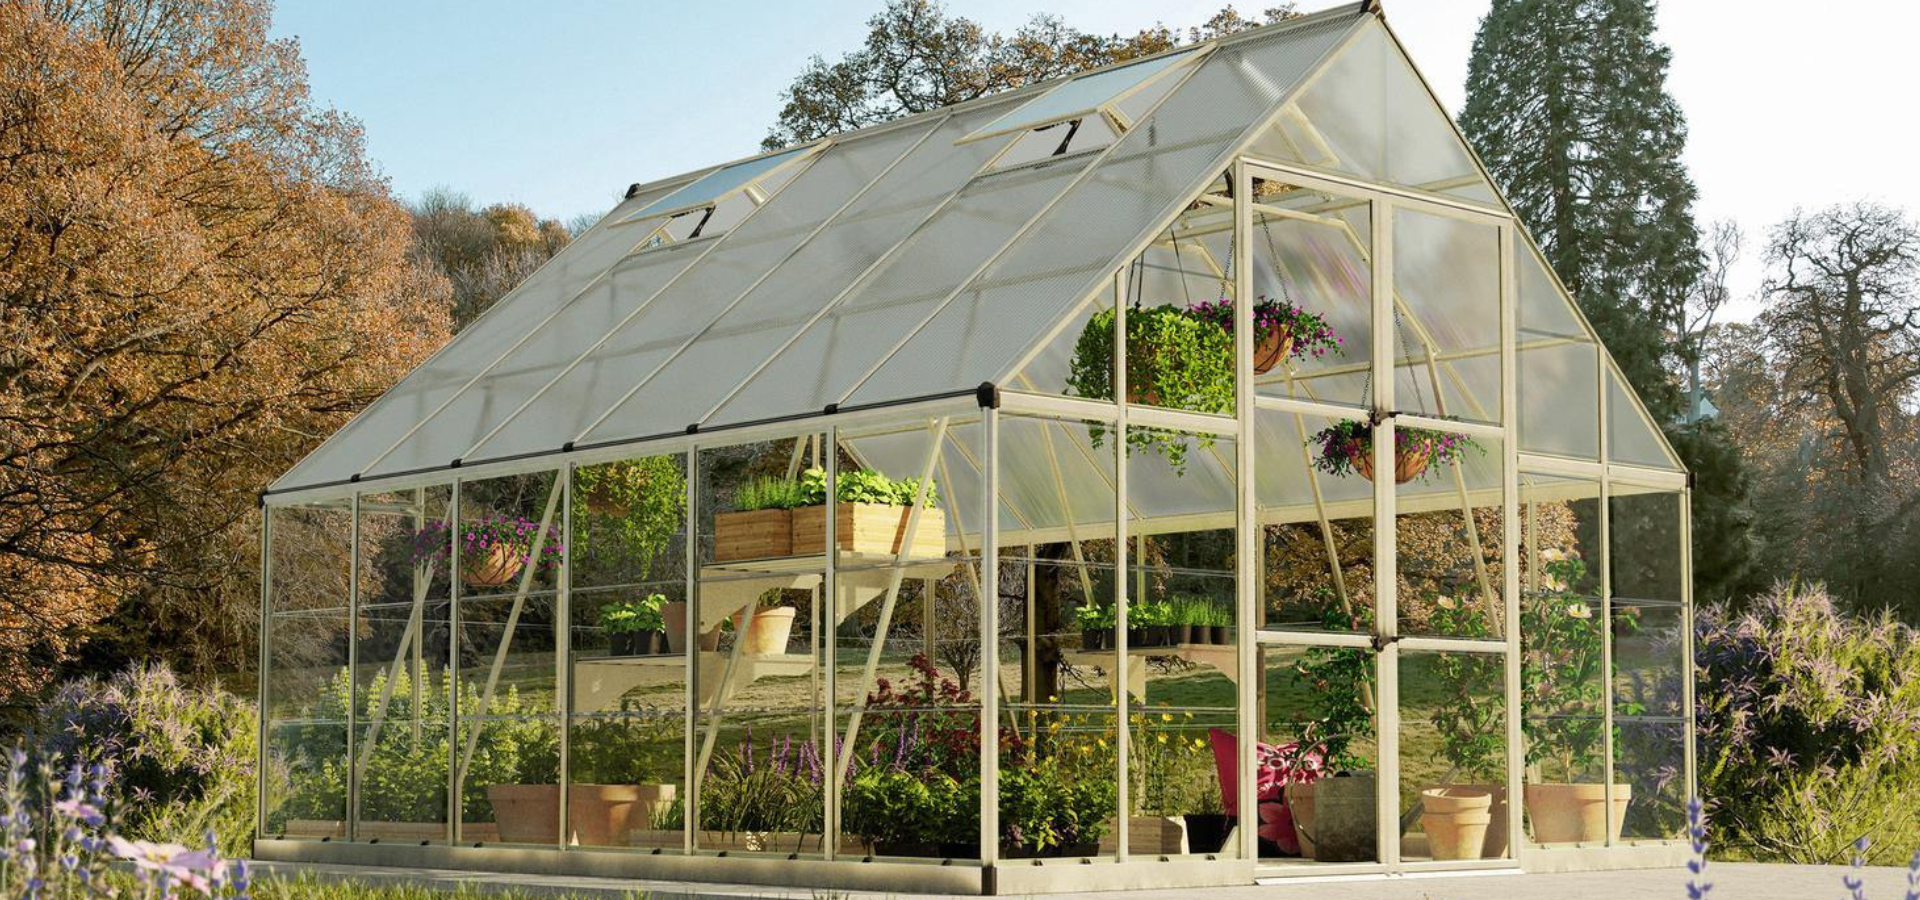
Early in the year, the greenhouse gets tested properly. Wind, rain, cold nights… anything that’s not quite right usually shows itself.
A loose panel will rattle. A tired edge will drip. And if the flutes are left open, dirt finds its way in and stays there.
This isn’t a full overhaul. It’s a steady reset that makes the busy months far easier.
-
Do a quick wind-and-rain check
Walk the perimeter and let the weather do the diagnosing. Any panel that’s shifting will make itself known.
You’re watching for:
-
Panels that rattle or flex in the frame
-
Small gaps you can see daylight through
-
Cracks starting around fixings or clips
-
Corners that feel a bit “soft” when you gently press them
If you can hear movement, it’s worth sorting. Those tiny shifts have a habit of turning into bigger issues once you start using the greenhouse more.
-
Check the ends of the panels, not just the faces
Multiwall polycarbonate panels have hollow channels (flutes). The sheet can look fine from the outside, but the ends tell the real story.
Signs the ends need attention:
-
Dirt or green staining that looks like it’s inside the sheet
-
Droplets sitting in the channels that never seem to clear
-
Drips that come from the edge rather than a joint above
Most of the time, this is about end finishing rather than a mysterious leak.
-
Work out what you’re dealing with: condensation or a water path
This step saves time.
Condensation tends to:
-
Come and go with temperature swings
-
Show up across more than one panel
-
Look like general misting rather than one steady drip
A water path tends to:
-
Drip in the same place after wind-driven rain
-
Leave a mark on the frame beneath
-
Get worse the longer the rain lasts
If it’s condensation, think ventilation and how the flutes are finished. If it’s a water path, focus on edges, joins, and any worn trims.
-
Tighten carefully, and replace anything that’s past its best
Loose fixings are easy to spot at this time of year, but it’s also when people crack panels by overdoing it.
You want snug, not strained.
Warped clips and rusty screws are rarely worth the battle. They can put uneven pressure on the panel and that’s when you see cracking start around the fixings.
-
Refinish the panel ends so the flutes stay cleaner
If you only do one job now, make it this one.
Leaving the ends open invites dirt and insects into the flutes. It also makes panels look permanently “dirty” even after a proper clean.
Breather tape helps the channels vent while cutting down on what gets in. If the tape is past its best, change it now. It’s far easier than dealing with dirty flutes later.
-
Replace only the panels that are letting you down
You don’t need to replace everything in one go. Most greenhouses have a handful of panels that cause most of the bother.
It’s usually worth swapping panels that are:
-
Cracked or splitting
-
Bowed and no longer sitting flat
-
So cloudy they noticeably dull the light
-
Damaged around fixings
If you’re doing a small refresh, keeping panel sizes consistent makes the job much easier. That’s why some people prefer using a ready-made greenhouse panel pack rather than juggling one-off pieces and measurements. For example, Plastic Solutions’ Greenhouse Panels Package is 6 sheets of 4mm clear multiwall polycarbonate, 1210mm (fall) x 605mm.
-
Clean for light, not perfection
At the start of the year, the biggest win is getting more usable daylight in.
A quick clean that actually helps:
-
Sweep out leaves and old compost spills
-
Wipe down staging and shelves
-
Clean the inside faces where film builds up
-
Clear any drainage points outside
Once it’s clean, it’s easier to spot movement, gaps, and drips too.
-
Set up your spring routine now
This is the small bit that makes spring feel calmer.
Decide:
-
Where seed trays will go
-
Where you’ll keep pots, labels, and tools
-
How you’ll vent the greenhouse quickly on bright mornings
The aim is comfort and convenience, not a showroom finish.
A handy checklist before spring kicks off
-
Do a wind check and listen for rattles
-
Inspect panel ends and flutes
-
Work out condensation vs a water path
-
Tighten fixings gently, replace worn ones
-
Refinish panel ends where needed (tape/trims)
-
Replace only the worst panels first
-
Clean for better light
-
Set up a simple workflow for sowing and potting
How to tackle it without turning it into a big job
No need to knock it all out in one go. Do the wind check first, secure anything that’s moving, then sort the panel ends.
Then, if a few panels are past saving, replace those and move on. A small panel refresh plus the right finishing bits usually gets the greenhouse back into good shape without turning into a full rebuild.
Share:
Side Passage Roof Guide: Keep It Bright, Dry, and Useful All Year
Make Irish Weather Work for You: Smart DIY Ideas Using Our Polycarbonate Sheets